

YD2-WHS Build Diary
- Oct 18, 2017
- 4 min read
The YD2-WHS is nearing completion, it has been kept fairly quiet until now but its time to share some of the build history & development to get you all excited!
The YD2-WHS started out by simply listening to drivers complaints about the base chassis, both stock and plus models share similar problems. The common themes were
*Droop
*Weight shift response
*Balance
*Options
Drivers were cutting big chunks out of their chassis, changing motor positions, adding weights to the front, rear and tops of their shell roof's to try and compensate with mixed results. As I was planning to get a YD2-EX myself I thought, there must be another way to solve this?? So I started playing with the idea of designing my own YD2 and half a year later, its here!
Development started by looking at other chassis plate upgrades on the market and thinking about how my design could be better. There are chassis that have so many holes they look like Swiss cheese!! chassis made from solid alloy and some that just plain out copied MST. I wanted to try and stay somewhat true to the base YD2 design as its already a great platform.
After doing an initial trace of the stock chassis and prototyping different solutions for these issues I finally had a version 1.

"Now how do I test this without it costing a fortune?" I then remembered the open rc project
Could it be possible to 3D print a 1:10 scale drift car?? Why not?? So I sliced up the base plate into two sections so that the size would fit into my printer and made myself a v1 chassis!

It was low quality and my join method was pretty crap, but it was enough to get me super excited! This is totally going to work (with some adjustments).

I checked all the hole positions and made some notes before making another revision, this time with the intention of being usable - for a least one session...
This second revision was much better and resembles the final design fairly closely
*The custom shock tower was abandoned, There was little point with so many other options on the market however if I can refine the design to a point where i'm happy with it, may come back in future.
I got everything mounted up and it looked amazing!! My design inspiration comes from sci-fi weaponry such as the alien weapons in District 9, I personally am not a fan of the skinny chassis crazy that it sweeping the drift scene of 2017. I like having a full bodied chassis! a nice big chunk of carbon to call my own so full size it is.

With all the parts mounted up it felt surprisingly strong! much more than I had anticipated.
The print itself was ABS plastic at .3mm layer height and 6 shell walls with aprox 15% infill. To join the two sections I used nothing but shoe glue! The tolerance on my printer is very good so I used this to my advantage and left only a 0.2mm tolerance between the interface, it was a perfect snug fit. I had thought I would need to run a rod through the center but it was not required.
To countersink the holes I used a dremel and a tapered sanding bit, a little messy but worked just fine.

With the spare electronics I had laying around it was ready to go! This machine means business!!

This must be the only working 3D printed YD2 in existence??!?

Track testing went amazingly well, far better than I imagined. The body roll was so nice due to the forward sitting battery position and the high mount ESC, seeing the shell lean into corners and dropping under acceleration and breaking just cant be beat! The stability under massive lock was just insane - many many ooooooh's and aaaaaaaah's that day with everyone at our club wanting to see how this was achieved. I had not really planned on reselling the chassis but it generated so much interest it got me looking into the idea. I was tempted to keep it 3D printed because it simply performed so damn well! buuuuut you cant beat that carbon feel..
After some more small tweaks I was ready to get a carbon cut made, after lots of searching I was refereed to Paul from Bezerk RC here in Australia by Russell or RSG RE-Extreme. Paul helped me through the process and gave me some options.
The result was this


When I first received the initial prototype I was stunned at the quality and also the finish of the blue carbon, its really hard to capture on a camera but it glimmers. Just amazing!!!
I used the chassis for a few more sessions, making final notes on how I could squeeze that last 5% more out of it. One suggestion was to try running the battery inline, this idea stuck and I ended up designing a simple mount that works with the quick release mounts that are already present in the stock battery position.

Another session tested and im starting to really like how this chassis performs - its turned into a real precision chassis with options to suit different driving styles, be it D-1 fat angle or closer to gymkana. Both styles I was able to achieve quickly and easily.
The mounts are for sale on our web store and will also fit on ANY YD2 Stock or Plus chassis.
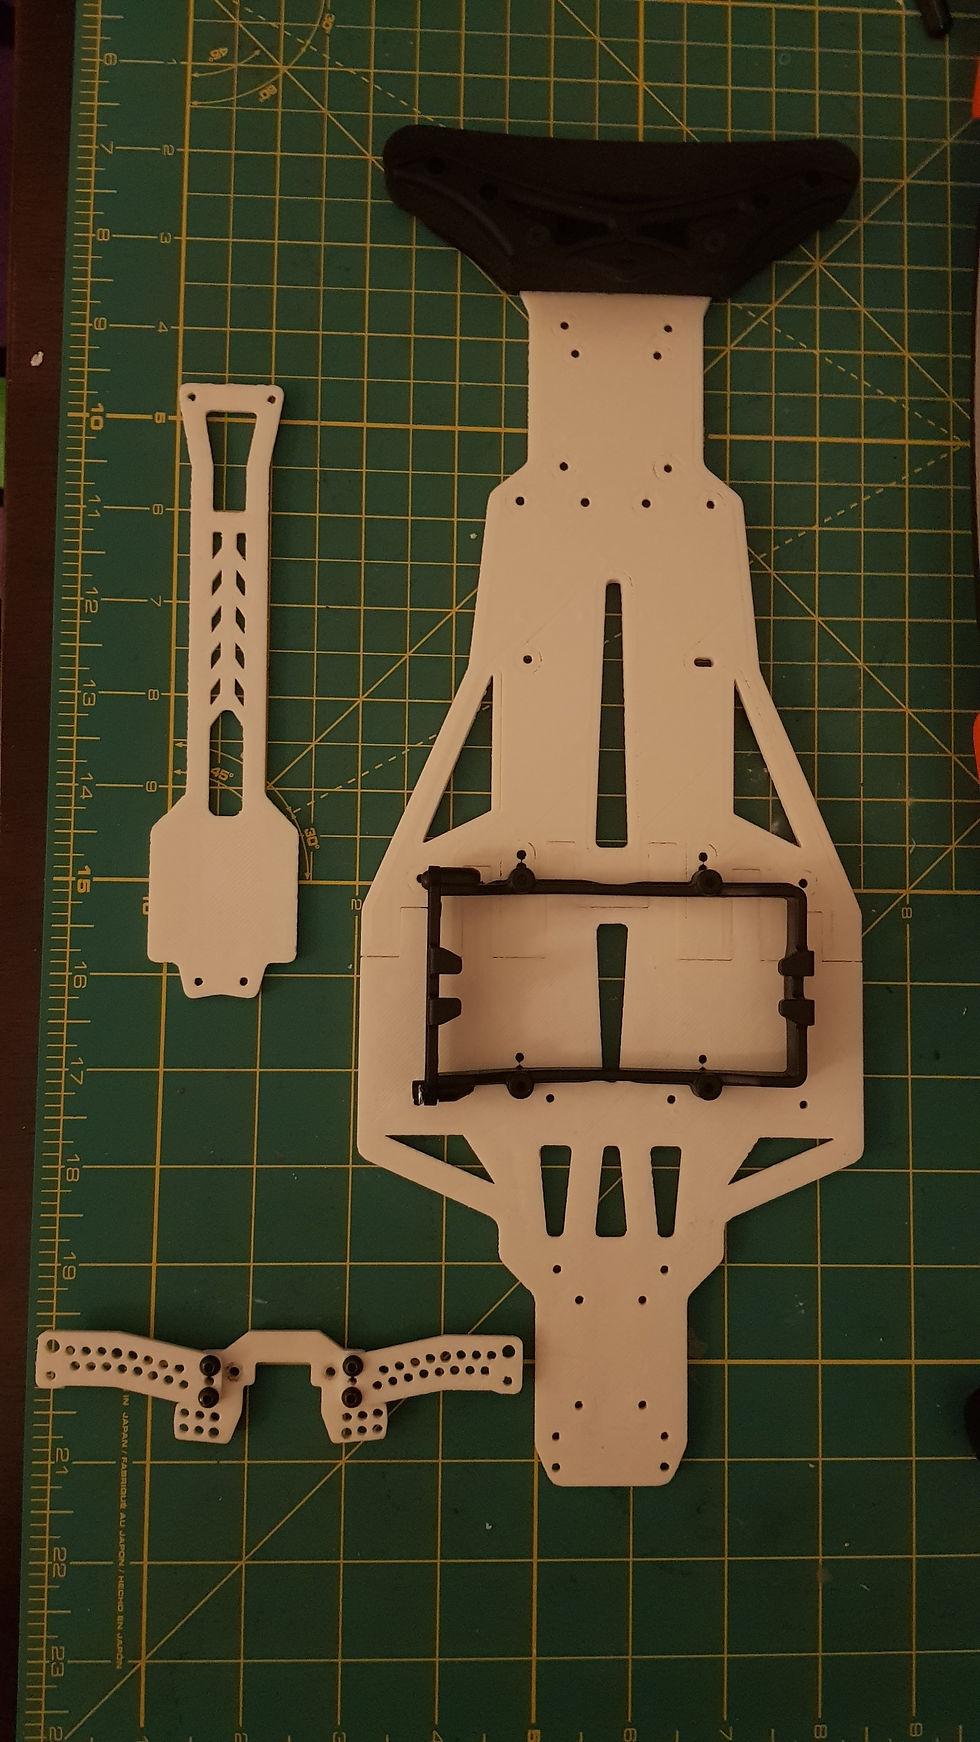
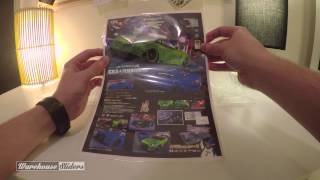
I hoped you enjoyed reading through some of the history and development of the YD2-WHS, ive very much enjoyed making this chassis upgrade and I hope it brings the same excitement to you once released. Below are images of the final design, it will come with lower and upper decks plus a set of inline mounts is included.
Price TBA in AUD
November Pre-orders open with an end of November ETA


Comments